
Curtain How to Install Curtain Tracks and Rods - A Comprehensive Guide

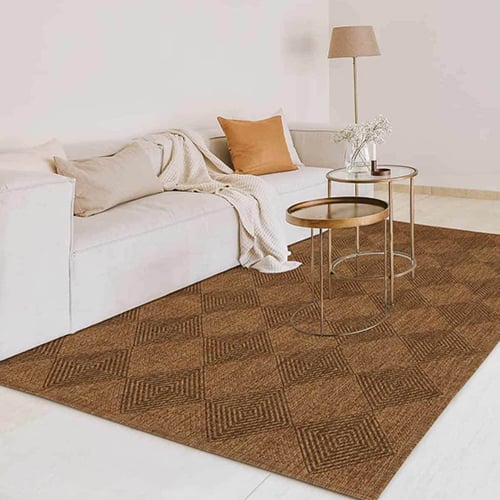
Installing curtain tracks can seem daunting, but with the right guidance and quality products from Briscoes, it can be a straightforward DIY project. This comprehensive guide will walk you through the process, from selecting the appropriate tracks to troubleshooting common issues, ensuring your curtains hang beautifully in any room. 

Understanding Curtain Tracks - Types and Considerations

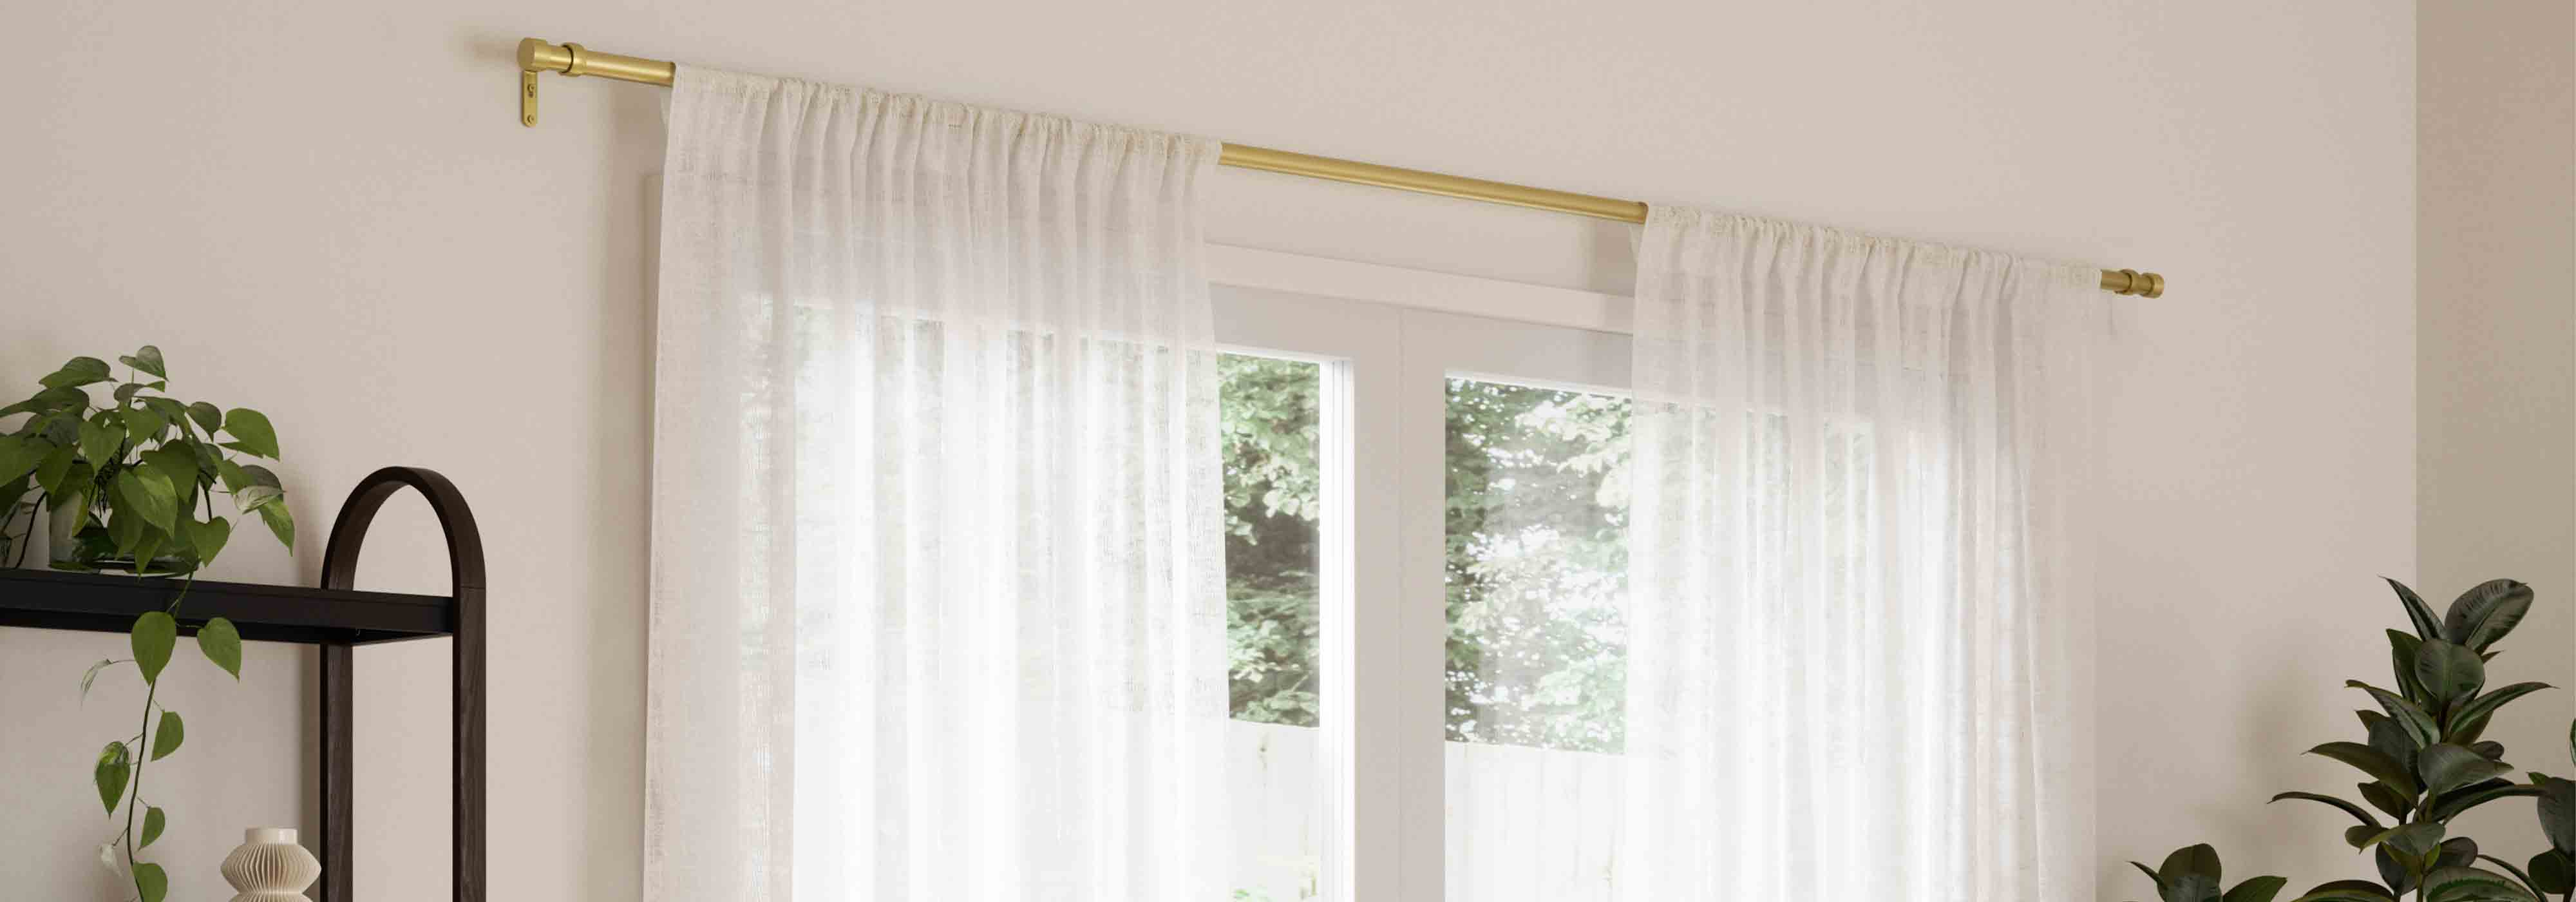
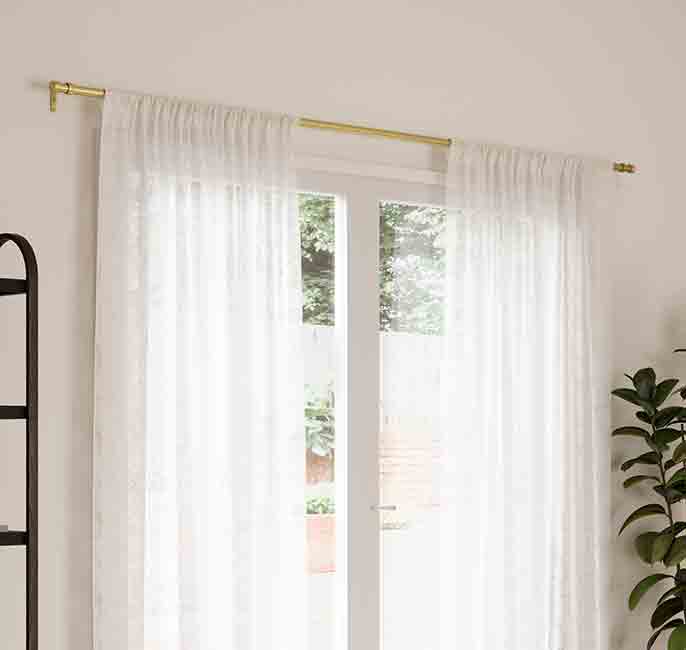
When it comes to hanging curtains, curtain tracks offer a versatile and functional solution for various window types and interior styles. Understanding the different types of curtain tracks available and key considerations can help you choose the best option for your space, especially when shopping at Briscoes. 

Types of Curtain Tracks 

  • Standard Straight Tracks: These linear tracks suit most windows and can be mounted on walls or ceilings. They offer a clean, minimalist look and are ideal for spaces with traditional rectangular windows. Briscoes offers a range of easy-to-install straight tracks that even DIY novices can manage. 
  • Ceiling-Mounted Tracks: Ideal for achieving a sleek, contemporary aesthetic, these tracks are fixed directly to the ceiling. They maximise curtain height and can create an illusion of taller ceilings. 
  • Motorised Tracks: For added convenience and a touch of luxury, motorised tracks allow you to open and close curtains with the push of a button or via remote control. These are more advanced and likely require a professional to install safely.  

Key Considerations When Choosing Curtain Tracks

  • Window Shape and Size: The shape and dimensions of your windows will largely determine the most appropriate track style and length for your needs. Briscoes offers a variety of track lengths to suit different window sizes. 
  • Curtain Weight: Ensure the chosen track can support the weight of your curtains, especially if they are heavy or made from dense fabric. Briscoes' product descriptions clearly state the weight capacity of each track. 
  • Aesthetic Preferences: Select a track style and finish that complements your interior decor and enhances the overall visual appeal of your space. Briscoes offers tracks in various finishes to match your style. 
  • Functionality: Consider whether you prefer the simplicity of manual operation or the advanced convenience offered by motorised tracks for controlling your curtains. Briscoes stocks both options to suit your needs. 

By carefully considering these factors and understanding the various types of curtain tracks and rods available at Briscoes, you can select the most suitable option for your specific needs and preferences. Whether you opt for a simple straight track or a more advanced motorised system, Briscoes offers products designed for easy installation, enhancing both the functionality and aesthetics of your window treatments. 

Tools and Materials Needed for Curtain Track Installation

Now that you've selected the perfect curtain track from Briscoes, it's time to gather the necessary tools and materials for installation. Having everything at hand before you begin will ensure a smooth and efficient process. 

[Image suggestion] A neatly arranged set of tools and materials needed for curtain track installation, featuring Briscoes products. [Invalid generated image removed] 

To successfully install curtain tracks from Briscoes, you'll need to gather the following essential tools and materials: 

Tools: 

  • Measuring tape (preferably metal) 
  • Pencil 
  • Spirit level 
  • Electric drill with appropriate drill bits 
  • Screwdriver (both flathead and Phillips head) 
  • Stud finder 
  • Step ladder 
  • Hacksaw or pipe cutter (for trimming tracks if needed) 

Materials: 

  • Curtain track or rod of appropriate length and style (available at Briscoes) 
  • Mounting brackets (usually included with Briscoes tracks) 
  • Screws and wall plugs (rawl plugs) (often provided with Briscoes products) 
  • Track joiners (if using multiple track pieces) 
  • End stops (typically included with Briscoes tracks) 
  • Gliders or hooks (depending on curtain type, available at Briscoes) 

Optional items: 

  • Plumb line or string 
  • Dust sheet (to protect flooring) 
  • Safety goggles 
  • Plaster wall anchors (if ceiling battens cannot be located) 

Having these tools and materials for curtain tracks ready before beginning the installation process will ensure a smooth and efficient setup. It's crucial to check that all components included with your Briscoes curtain track system are present before starting the installation. Most Briscoes tracks come with comprehensive installation kits, minimising the need for additional purchases. 

For specific curtain track installation requirements, always refer to the manufacturer's instructions provided with your product, as different track systems may have unique tools or materials needed for proper installation. Briscoes prides itself on offering user-friendly products with clear, easy-to-follow installation guides. 

Measuring and Marking - Preparing for Curtain Track Installation

With your tools and materials at the ready, the next crucial step in installing your curtain tracks is accurate measuring and marking. This preparation phase sets the foundation for a successful installation, ensuring your tracks are perfectly positioned and level. 

Proper measuring and marking are crucial first steps when preparing to install curtain tracks. Taking accurate measurements ensures your tracks fit perfectly and your curtains hang beautifully. Briscoes provides detailed guides with their products to make this process straightforward. 

Essential tools for measuring and marking  

  • Metal measuring tape
  • Pencil 
  • Spirit level 
  • Stud finder 
  • Step ladder 

Steps for measuring and marking   

  1. Measure the window width: Measure the width of your window frame from edge to edge. For optimal coverage, add 10-15 cm on each side to allow curtains to fully cover the window when closed. Briscoes offers tracks in various lengths to accommodate different window sizes. 
  1. Determine track height: Measure 10-15 cm above the top of the window frame. This is typically where you'll want to position your curtain tracks for an elegant look. For rooms with high ceilings, you may choose to mount tracks halfway between the ceiling and window frame. Briscoes' ceiling-mounted tracks are perfect for maximising curtain height. 
  1. Mark bracket positions: Using your pencil, mark where the end brackets will be placed, about 15 cm from each end of your planned track position. For longer tracks, mark additional bracket positions spaced evenly between the end brackets, typically no more than 60 cm apart. Briscoes tracks come with clear instructions on optimal bracket spacing. 
  1. Check for level: Use a spirit level to ensure your marked positions are perfectly horizontal. This step is crucial for achieving a professional-looking installation.  
  1. Locate ceiling battens or wall studs: If mounting to the ceiling or wall, use a stud finder to locate solid fixing points. Mark these locations, as they'll provide the most secure attachment for your brackets. Briscoes provides appropriate fixings for different wall types with their tracks. 

Additional considerations   

  • Bay windows: For bay windows, measure each section separately and consider using flexible tracks or custom-bent tracks to follow the window's contours. 
  • Ceiling-mounted tracks: When marking for curtain tracks on the ceiling, ensure you have at least 35 mm clearance from the wall for the rear track and 145 mm for the front track in a double-track system.  
  • Track joiners: If using track joiners for longer spans, mark additional bracket positions on either side of where the joiner will be, at least 85 mm apart.  

By taking the time to carefully measure and mark your installation points, you'll set a solid foundation for a successful curtain track installation. This preparation ensures your tracks will be level, secure, and positioned correctly for optimal curtain functionality and appearance. 

Step-by-Step Guide - How to Install Curtain Tracks  

Now that you've completed the crucial measuring and marking phase, it's time to move on to the actual installation of your Briscoes curtain tracks. This step-by-step guide will walk you through the process, ensuring a professional-looking result.

Installing curtain tracks and rods from Briscoes can be a straightforward DIY project when you follow these steps: 

  1. Measure and mark: 
  • Measure 10-15 cm above the window frame for optimal placement 
  • Mark bracket positions, typically 15 cm from each end of the planned track position 
  • For longer tracks, mark additional brackets every 60 cm 
  1. Gather tools and materials: 
  • Drill with appropriate bits 
  • Screwdriver 
  • Spirit level 
  • Pencil 
  • Measuring tape 
  • Curtain track and brackets (from Briscoes) 
  • Screws and wall plugs (often provided with Briscoes tracks) 
  1. Install brackets: 
  • Use a spirit level to ensure brackets are perfectly horizontal 
  • Drill pilot holes at marked positions 
  • Insert wall plugs if necessary 
  • Screw brackets securely into place using fixings provided by Briscoes 
  1. Attach the track: 
  • If required, cut the track to size using a hacksaw (most Briscoes tracks are pre-cut to popular sizes) 
  • Click or slide the track into the installed brackets as per Briscoes' instructions 
  • Ensure the track is level and secure 
  1. Add curtain components: 
  • Insert gliders or hooks into the track  
  • Attach end stops to prevent curtains from sliding off 
  1. Hang curtains: 
  • Attach curtain hooks to the back of your curtains 
  • Connect curtain hooks to the gliders or hooks in the track 
  • Adjust curtains for even distribution and smooth operation 

A key aspect of successful curtain track installation is ensuring everything is level and secure. Take your time with measurements and use a spirit level frequently throughout the process. Briscoes' tracks are designed for easy installation, often featuring snap-in mechanisms or simple screw fittings. 


Troubleshooting Common Curtain Track Installation Issues  

Even with careful planning and execution, you may encounter some challenges during your curtain track installation. Don't worry - most issues have straightforward solutions. Here are some common problems and how to address them:  

Uneven or sagging tracks

  • Problem: The track appears uneven or sags in the middle. 
  • Solution: 
  • Check that all brackets are securely fastened to wall studs or ceiling joists using the fixings. 
  • Add additional support brackets, spacing them no more than 60 cm apart.  
  • Use a spirit level to ensure the track is perfectly horizontal when installing.  

Difficulty sliding curtains  

  • Problem: Curtains don't glide smoothly along the track. 
  • Solution: 
  • Inspect the track for any obstructions or debris and clean thoroughly. 
  • Check that all gliders or hooks are properly inserted and not tangled. Apply a silicone-based lubricant to the track to reduce friction. 

Tracks pulling away from the wall 

  • Problem: Brackets or tracks are coming loose from the wall. 
  • Solution: 
  • Use longer screws or wall anchors appropriate for your wall type. Briscoes provides suitable fixings with their tracks but you may choose to use other screws for tricky installations.  
  • Ensure brackets are installed into wall studs or solid wood whenever possible. 
  • For heavy curtains, consider using stronger brackets or more frequent spacing. 

Misaligned joins in longer tracks  

  • Problem: Sections of track don't align properly at the joins. 
  • Solution: 
  • Use a track joiner from Briscoes to ensure a smooth transition between sections. 
  • Place additional brackets on either side of the join for extra support. 
  • File down any rough edges at the join to prevent snagging. 

Curtains not hanging evenly 

  • Problem: Curtains appear uneven when closed. 
  • Solution: 
  • Check that the track is level using a spirit level. 
  • Adjust the curtain hooks or rings to ensure even distribution along the track. 
  • For pencil pleat curtains, re-gather the header tape to achieve an even fullness. 

By addressing these common curtain track installation problems, you can ensure your Briscoes curtains hang beautifully and function smoothly. If issues persist, don't hesitate to consult Briscoes' customer service for assistance in fixing curtain tracks. Remember, Briscoes products are designed for easy installation and come with comprehensive guides to help you achieve professional results. 

Additional Resources  

For more information on curtain and blind products available at Briscoes, as well as installation tips, you may find these links helpful: 

loading