Your cart is empty

AT LEAST 40% OFF STOREWIDE! SHOP SALE


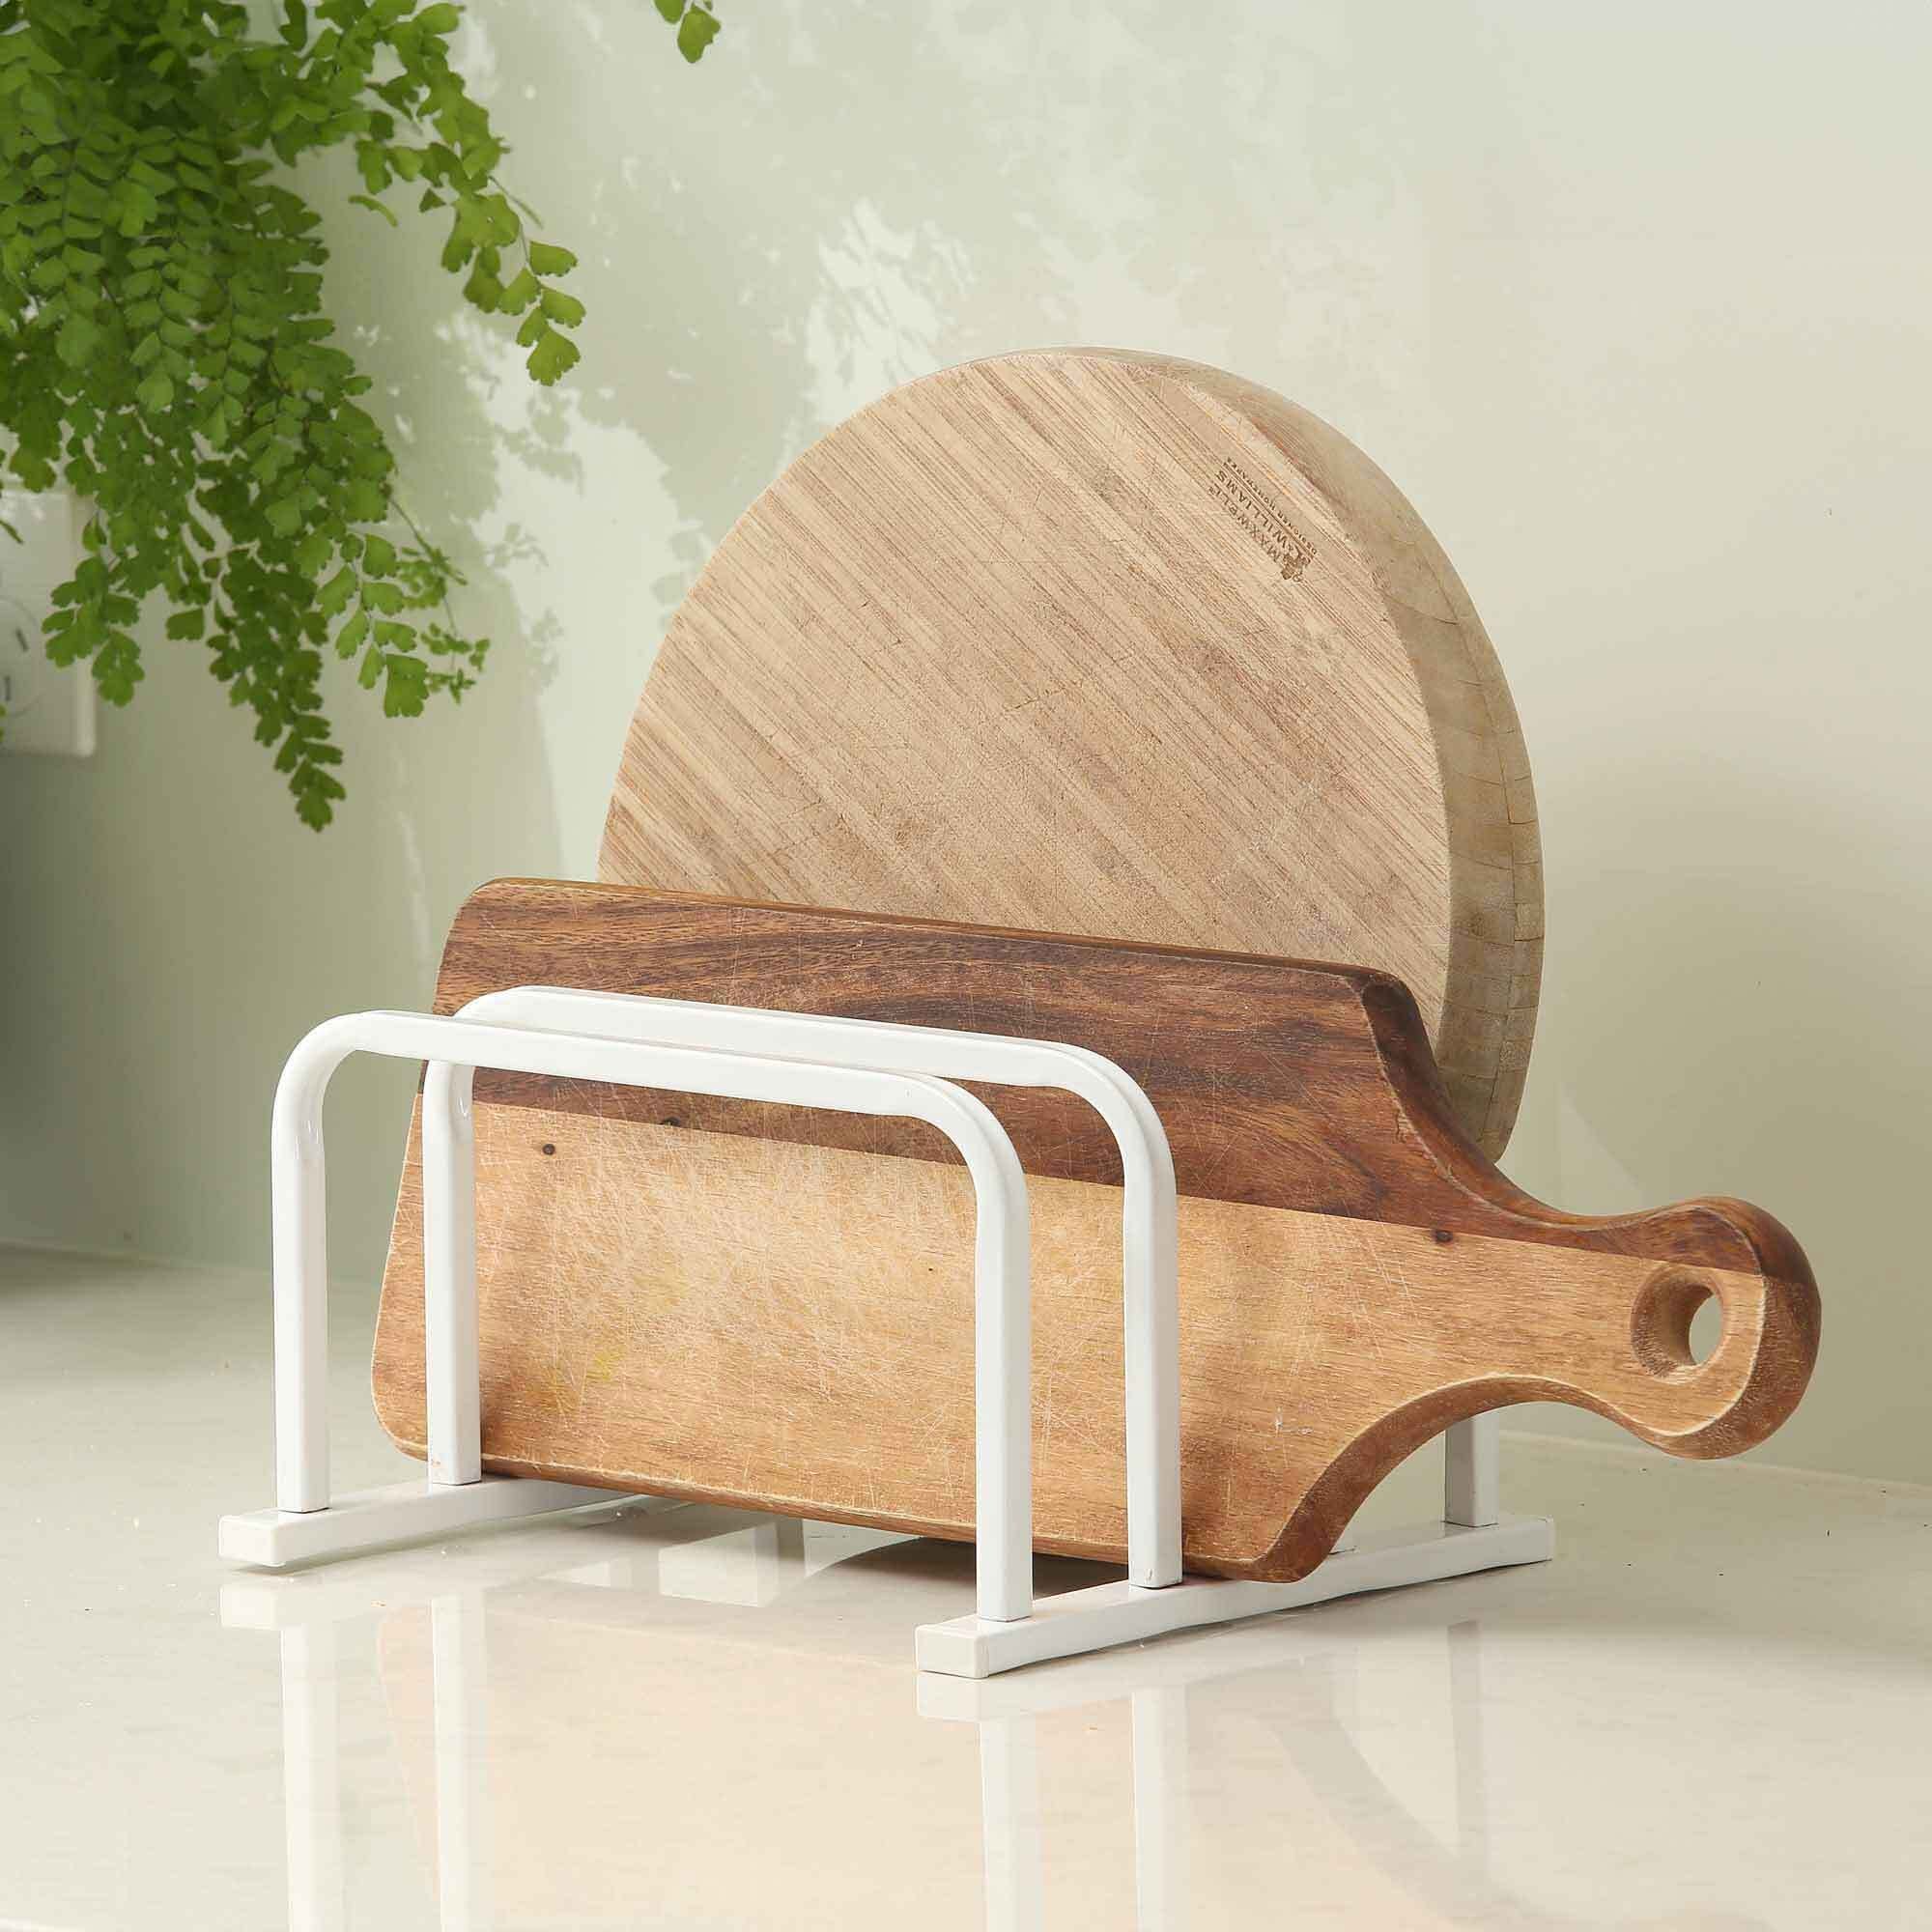
Restoring wood furniture can be a deeply satisfying project, whether you’re looking to breathe new life into an old piece or give a more modern spin to something with a bit of history. With the right tools, techniques, and a little patience, your furniture can look like new again. In this guide, we’ll take you through the essential steps of restoring wood furniture, from inspecting and preparing the piece to adding the perfect finish.
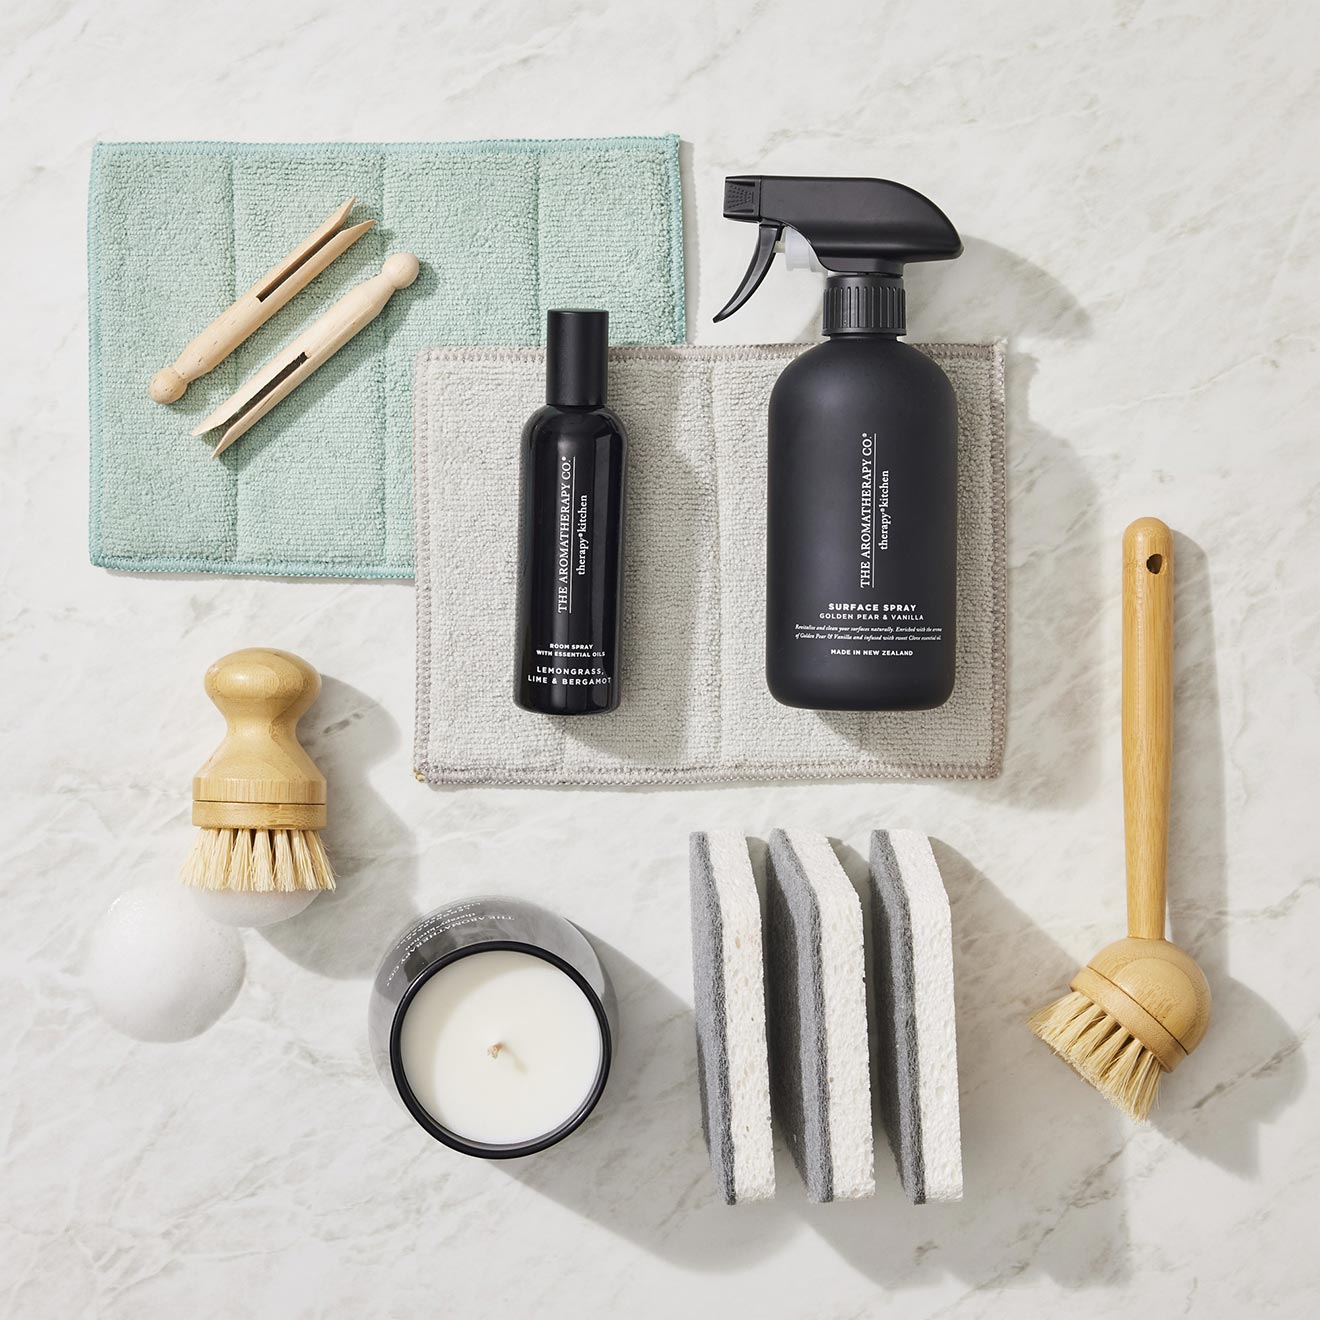
Before you begin, it’s important to gather everything you’ll need for the job. The basics include sandpaper in various grits (80, 120, and 220), a sanding block or electric sander, paintbrushes, foam brushes, and lint-free cloths. For the finish, you’ll need either wood stain, paint, or varnish, depending on the look you want to achieve. You’ll also need wood filler for cracks and chips, wood glue for loose joints, and a putty knife to apply the filler. Don't forget safety gear like gloves, a dust mask, and safety goggles.
In addition to these basics, there are optional tools you might use depending on the complexity of the restoration. Steel wool or a fine wire brush can help with cleaning intricate details, and a heat gun or paint stripper might be necessary if you need to remove old paint layers.
Start by carefully inspecting the piece for any damage. Check for loose joints, deep scratches, cracks, or signs of wood rot and insect damage. If you find any significant structural issues, you may need to consult a professional.
Next, remove any hardware like handles, knobs, and hinges to make the restoration process smoother. Once that’s done, clean the surface using a mild soap and water solution or a specialized wood cleaner to remove any dust, grime, or oils. Let the piece dry completely before moving on to repairs.
Fill any cracks or chips with wood filler and allow it to dry fully before sanding it smooth. If there are any loose joints, apply wood glue and clamp them together to secure them. Once all repairs are complete, you're ready to move on to the next step.
Sanding is one of the most important steps when restoring wood furniture. It removes imperfections and creates a smooth surface for applying your chosen finish.
Start with a coarse grit sandpaper (around 80 or 120) for surfaces with significant damage or previous finishes. This will help smooth out the imperfections and prepare the surface for finer sanding. After the initial sanding, switch to a finer 220-grit paper to achieve a smooth, polished finish.
When sanding, always work in the direction of the wood grain to avoid scratching the surface. For smaller, curved areas, you might find a sanding sponge or flexible sanding block more effective. Once you're done sanding, it’s essential to clean off all the dust using a tack cloth or a vacuum. Residual dust can interfere with staining or painting, so make sure the surface is completely clean before proceeding.
Once your surface is prepared, it’s time to decide how you want to finish your piece. You can either stain, paint, or varnish it, depending on the look you're going for.
If you want to highlight the natural beauty of the wood, staining is a great option. Choose a stain that complements the wood’s natural colour, whether you're going for a light, dark, or weathered look. Apply the stain with a lint-free cloth or foam brush, allowing it to soak into the wood for a few minutes. Afterward, wipe off any excess to achieve your desired colour. For a deeper shade, you can apply multiple coats, allowing each to dry completely before applying the next. A light sanding between coats ensures a smooth finish.
If painting is more your style, make sure to prime the wood first if it’s unfinished or if you’re changing from a dark to a light colour. Use thin, even coats of paint, letting each layer dry before adding the next. Sanding lightly between coats helps achieve a smooth, professional finish.
For those who prefer a durable, protective finish, varnishing is an excellent choice. Polyurethane provides water-resistant protection, while shellac offers a natural finish. Apply thin coats of varnish, sanding lightly between layers to ensure a smooth, durable surface.
Once the finish is completely dry, you can reassemble the furniture by reinstalling any hardware you removed earlier. If the hardware looks worn, you might want to clean or even replace it for a fresh look. Adding felt pads to the feet of your furniture will also help protect it from scratches and damage, especially on wooden floors.
To enhance the shine, apply a wood polish or wax to the surface for added protection and a gleaming finish. These finishing touches will ensure your piece not only looks good but is also ready for daily use.
Once your furniture is restored, it’s important to take care of it to ensure it lasts. Dust regularly with a microfiber cloth, and avoid using harsh chemicals that could damage the finish. Be mindful of placing your furniture in areas where it might be exposed to excessive sunlight, as direct light can cause wood to fade or warp over time. If possible, keep furniture away from windows or use UV-blocking curtains to protect it.
Also, avoid placing hot items directly on the wood, as this can cause damage to the finish. Use coasters, trivets, or placemats to protect the surface from water rings or heat damage.
SIGN UP AND GET $10 OFF YOUR FIRST ORDER OVER $100*
Oops! Looks like you're already signed up for our emails. If you are having trouble receiving emails, contact us at contact@briscoes.co.nz
Thank you for subscribing to the Briscoes Club! Please check your inbox shortly
Thank you for subscribing to the Briscoes Club! Please check your inbox shortly
![]()
![]()
![]()
![]()
![]()

![]()